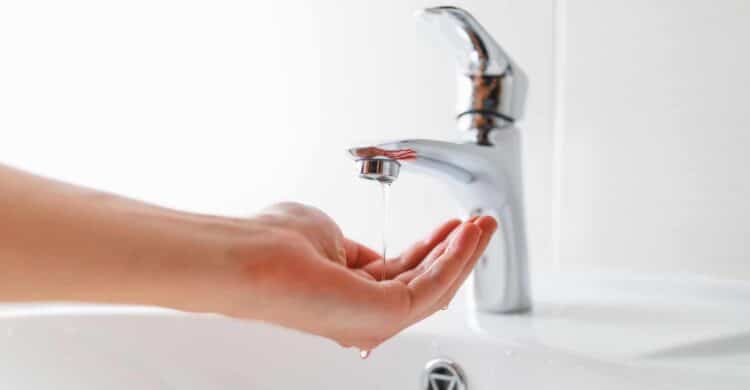
How to Fix a Leaky Faucet
First there’s the obvious – listening to that, “drip, drip, drip…” as water continuously bangs away into the sink. The second is the realization that each little drip is taking money with it down the drain. Sure, each drip amounts to very little in the grand scheme of things, but – if you live on a municipal water system – all those drips will eventually add up to increased water bills.
The good news is that even the most inexperienced do-it-yourself homeowner can do something to fix those leaks.
However, if you do not have the time or the inclination to give it a shot please contact a plumbing professional as soon as possible, as that wasted water will end up costing you more the longer that you ignore it.
If, however, you want to have a go at fixing it yourself look at these steps and learn how to fix a leaky faucet for good.
Step 1: Identify your faucet
Your fix will depend on knowing what type of faucet you have – because each type of faucet has different parts that must be replaced to fix the leak.
The four faucet styles are:
Ball – This is now the most common type of faucet used in homes. It utilizes a single ball to control water temperature and flow. It also has the most working parts, so it can be very tricky to replace if you’re not familiar with plumbing.
Compression – This was once the standard type of faucet in homes. However, they are now uncommon because of the rubber washers they utilize – washers which can wear out and must be replaced. However, if you have an older faucet, this may be the style you have.
Cartridge – These faucets are durable and fairly easy to fix, as you will likely only need to replace the cartiridge inside to correct any leaks.
Ceramic disk – The most durable faucet design on the market, these one-lever units have a pressure balance cartridge inside that controls temperature and water flow.
Step 2: Turn off your water
No matter what style of faucet you have, this will be the next step. You’ll find the shutoff valve underneath the sink. Tips: Make sure you cover the drain of the sink with a towel or something similar so that you do not drop any spare parts into the drain. Also, it’s a good idea to wrap your wrench with duct tape so that you can avoid scratching your fixture.
From here, we’ll proceed with repairs for each type of faucet. NOTE: If you are at all concerned with handling these repairs on your own, please stop now and call a professional. It will be better than getting halfway into the project and realizing you’re in over your head.
Ball
NOTE: Because of all the various parts involved in this type of faucet, it is probably best to buy a replacement kit and replace all the parts. The kit will also contain a special tool that will allow to loosen the faucet cam.
- Remove the small index cover from the side of the faucet. This will uncover a hex-head screw.
- Loosen said screw with and remove the faucet handle.
- Remove the cap and collar.
- Use the special tool included in the faucet-repair kit to loosen the faucet cam. Lift it out, along with the cam washer and the rotating ball.
- Remove the rubber seats and springs inside the faucet body.
- Install the new spring and rubber seat (Tip: Placing the parts on the end of a pencil tip can help you accomplish this.)
- Re-insert the ball and align its keyway with the corresponding tab inside the faucet.
- Install a new rubber gasket and cam cap.
- Hand-tighten the top cap assembly back onto the faucet.
- Tighten the nut to provide tension against the stainless-steel ball.
Compression
- Most likely you will need to replace the seat washer to stop the leak in this style of faucet.
- Remove the decorative cap on the handle, exposing the attachment screws.
- Remove said screw and then the handle.
- Unscrew the packing nut and loosen the stem from the faucet body.
- Unscrew the rubber washer from the bottom end of the stem and remove the old seat washer.
- Coat the new washer with heat-proof plumber’s grease and install it.
Cartridge
- When doing this, make sure the length of the new cartridge matches the length of the old cartridge.
- Remove the decorative cap on the handle, and then remove the handle screw before removing the handle.
- If there’s a threaded retaining clip holding the cartridge in place, remove it, and then pull the cartridge (straight) out.
- Remove the spout and cut off the old O-rings.
- Coat new O-rings with heat-proof plumber’s grease and install.
Ceramic Disk
You may need neoprene to replace seals here if they are damaged. You will also want to use distilled white vinegar and a soft scouring pad to clean the cylinder openings. Also, be careful to turn the water back on slowly after replacing the parts, as the initial pressure could fracture the ceramic disk.
- Push the handle back to access the set screw. Remove the screw and the handle.
- Remove the escutcheon cap
- Unscrew the disk cylinder mounting screws and remove the cylinder.
- Remove the neoprene seals from the cylinder. If the seals are damaged, replace them.
- Clean the cylinder openings and rinse them thoroughly.
- Replace the seals and reassemble the faucet.
If you follow these steps, you will be able to quiet the leaks and the stop the flow of extra money going down your drain. However, we also understand that tackling plumbing issues may not be something you’re comfortable with. In that case, do not hesitate to call a professional.
Whatever plumbing problem you face, the pros at Conditioned Air Systems are here to help. That may seem unusual from a company that has built a four-decade reputation on supplying the best in HVAC – but it’s really not that different. In fact, beginning in 2022, Conditioned Air brought on board plumbing master John Payne, founder of Payne Plumbing, to lead and develop our plumbing division. His work and expertise allow us to offer the same full range of expertise, customer service, and flexibility that you have come to expect from Conditioned Air’s HVAC services.
Payne, a north Georgia native, grew up in the plumbing industry and obtained his unrestricted master plumbing license over 25 years ago. He founded Payne Plumbing shortly thereafter. Thanks to John’s guidance, we will happily tackle any job, no matter the size or situation. And you can expect our plumbers to:
- Arrive on time
- Install it or repair it right, the first time
- Give you a fixed price with no hidden surprises
- Be friendly and professional
Just like our HVAC services, we offer 24/7 and emergency plumbing services to attend to your every need.
So, if you find yourself battling low water pressure, please contact us right away at 770-536-7509 and let us get your water running the right way again.
Meeting Your Plumbing Needs
